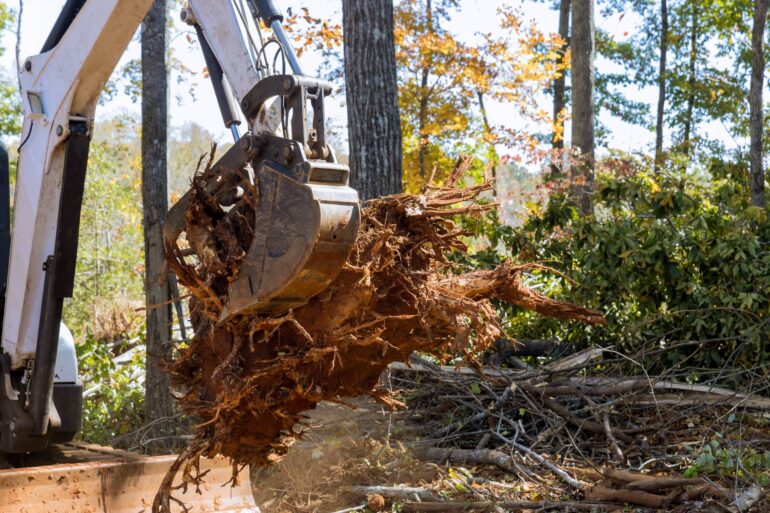
Getting started with land clearing can seem overwhelming if you’re new to it. Understanding the process is key, whether you’re prepping for construction, expanding farmland, or cleaning up overgrown spaces. With the right approach and tools, you can turn an overgrown space into a blank canvas for your goals.
Step 1: Assess and Plan Your Project
Spend time assessing the land you’re working with. What’s the size of the area? Is it flat or sloped? Are you dealing with trees, brush, rocks, or all three? Determining the scope of the job will help you figure out what tools you need and how long the process will take.
Clearing a backyard for gardening purposes is very different from preparing acreage for building a home. Your plan should also include knowing what to do with cleared debris. Will you dispose of it, compost it, or use it as firewood?
Step 2: Choose the Right Equipment
Standard equipment, such as chainsaws, bulldozers, or compact track loaders, can do the heavy lifting, but investing in land clearing attachments can level up your efficiency. Mulchers, stump grinders, or brush cutters can help you handle stubborn obstacles with ease.
For instance, a mulcher can clear thick vegetation without uprooting healthy soil. On the other hand, a stump grinder will remove tree stumps quickly, leaving no obstacles behind.
Step 3: Clear Large Debris
Start with the biggest obstacles on the property, such as trees, boulders, and stumps. Remove them before tackling brush and weeds. This step usually requires heavy equipment and may take some time if the ground is uneven or compacted.
Cut down large trees and section them into manageable pieces, then remove the stumps using stump grinder attachments. Boulders may require leverage tools or machinery to shift.
Step 4: Address Remaining Vegetation
Once the big stuff is gone, focus on the overgrowth. You can clear thick underbrush, weeds, and small trees with brush cutters or mulchers. Move through the land in sections, making sure to check for invasive plants you may not want spreading elsewhere.
During this phase, be mindful of preserving the vegetation you want to keep. If you’re clearing land for farming or landscaping, having a few mature trees intact for shade or aesthetics might add long-term value.
Step 5: Final Grading and Finish Work
After removing vegetation, smooth out uneven soil, fill holes, and assess the drainage to avoid future issues like pooling water. Grading tools or laser-guided attachments can help you finish up.
This is also a good time to spread grass seed or other ground cover if you want to prevent erosion. A clean slate sets the stage for a successful project, whether you’re planting crops or laying a foundation.
The land clearing process doesn’t have to be intimidating if you follow this beginner’s guide. By planning and investing in land clearing tools, you’ll set yourself up for a smooth, successful project. No matter the reason for clearing land, you’ll feel a sense of accomplishment seeing the transformation from wild terrain to usable land.