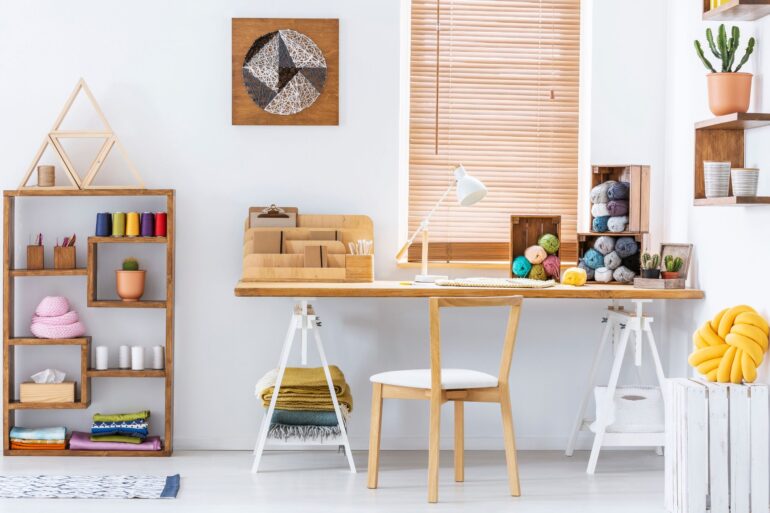
For someone who enjoys crafting, there’s usually nothing more rewarding than finishing a project, nor nothing more exciting than starting a new one. However, achieving either of those goals can become a challenge if your craft supplies are all over the place and lack a proper organizational system. You need a place that can store all of your crafting essentials that also doubles as an area you can work on. That’s why you’ll need these useful tips for making a crafting desk in your home.
Finding a Desk
Of course, the most important thing to secure is the desk itself. You don’t have to go out and purchase a brand-new desk. The first thing you should do is ask friends and family whether they have an old desk or table they no longer use that you might be able to repurpose.
Or you can head to your local thrift store, as they usually sell a variety of furniture for a much lower price. Keep in mind that you can also pick a table for your craft desk, as you can usually purchase a standing shelf system that fits comfortably under your table.
Label Things
Once you have your desk, you can begin organizing your craft supplies. Using labels is one of the biggest dos of organizing your craft supplies. Labels will increase the ease of finding exactly what you need. Moreover, when everything has a place where it belongs, tidying and cleaning up becomes much less of a hassle. A pro tip you might not have known is that you can organize your supplies according to type rather than by hobby.
Use a Peg Board
A huge tip for making a craft desk in your home is to make use of the space by using a peg board. A peg board will help you keep track of your current project as you can pin ideas and the supplies you’re currently using for easy grabbing. Moreover, a peg board frees up more space in your drawers, so you can add more crafting supplies as your hobby progresses.